Categories
RMS - 9. How to Create New POS Group & Access Control
Create new Access Control:
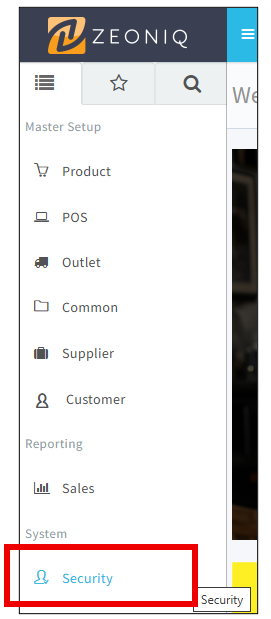
1-Open Zeoniq, and then go to [System] Category.
-Look at [Security], which is the red box below shown.
Click on it.
2-Select [POS Group].

3-You will see this page as below.


5-Insert the designated POS Group ID and POS Group Name.

-Click on the [Save] button to save, it allocated at top right corner.

7-After saved, it will appear a new tab, called [Access Control]. Go to [Access Control] to view.

8-This is the sample of the Access Control page.
-They contain of 2 parts. Upper part and bottom part.
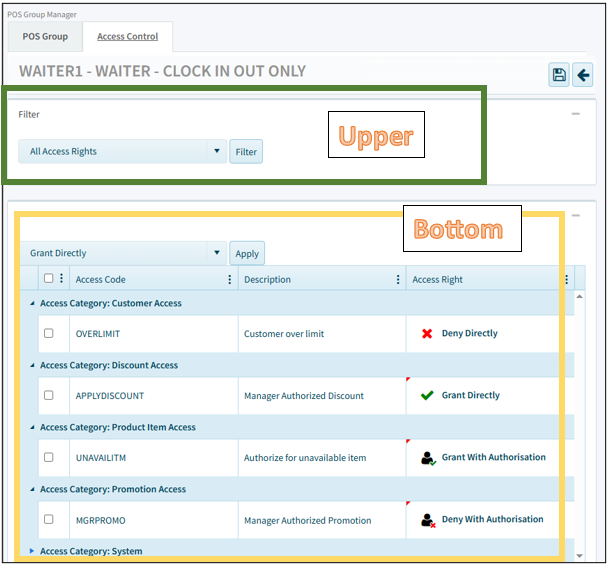
8.1-At the upper part, choose the filter that you need from the
drop-down list. Optional.
9-To change the access right,
9.1-Click on any area in the orange box at the item.
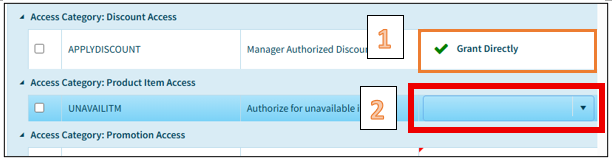

9.3-There are 4 selections:
a)
Grant Directly – Staff can access freely,
no restriction.
b)
Grant with Authorisation – Staff can perform the
action, but will need upper-level position to approve or require to
key in ID & password to perform.
c)
Deny Directly – This selection means that staff cannot
access, cannot request from others.
Deny with Authorisation – The staff is not allowed to access, but they could request from upper level. Only upper level can perform it for them.
10-After complete all the settings, click [save] button on the
top right corner.

10.1-To cancel, click [back] button to cancel the settings.
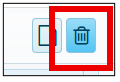
To Delete a POS Group:
11-Tick on [POS Group ID] you want to delete.

12-At the top right corner, click on the [Bin] icon to delete.