Categories
RMS - 8. How to Create New POS User ID
To Create User ID:
1-Open Zeoniq, and then go to [System] Category.
-Look at [Security], which is the red box below shown.
Click on it.

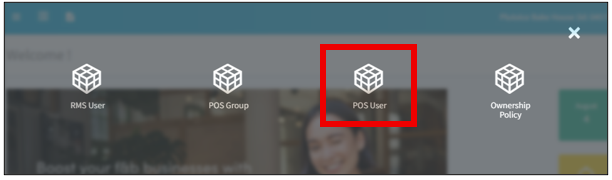
2-Select [POS User].
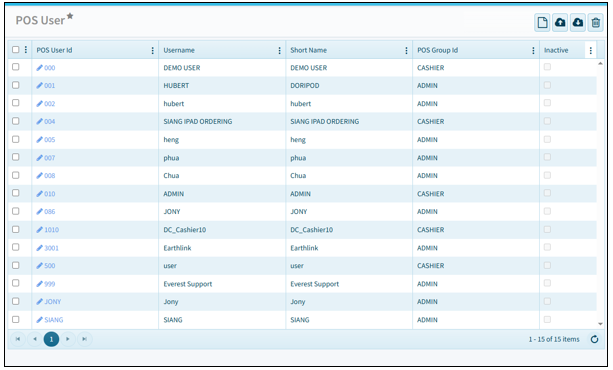
3-You will see the page as below.

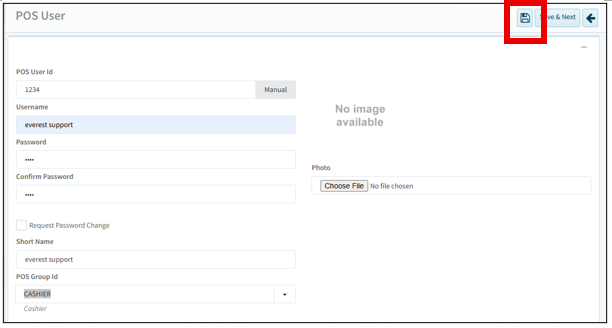
4.1-Insert the designated ID in [POS User ID]. In the sample is 1234.
4.2-Enter the designated Username and password.
Re-key the same password that you had set.
4.3-Do untick [Request Password Change].
4.4-Insert [Short Name]. It could be same as your Username as well.
4.5-Select [POS Group ID] by clicking the dropdown button at the
right side.
-It will pop out [POS Group] as shown below.
a) 4.5.1- Cashier – Can do order and payment.
b)
4.5.2- Waiter – Only can-do order.
c)
4.5.3- Admin – have all the access.
5-Select the designated group that you need and click the
[tick].

6-This will be the final look before save.
-Click on the [Save] Icon on the top right corner, the red box shown above to save.
To Cancel:
7-Click on the [back] button on the top right corner.

8-It will pop out a message, click [Yes] to unsaved. Click [No] to continue edit.

To
change password:
9-Select the User that you want to change password. Click on
number at the [POS User ID] to enter.

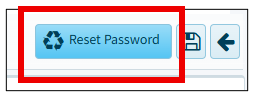
10-Click on the [reset password] on the top right corner.
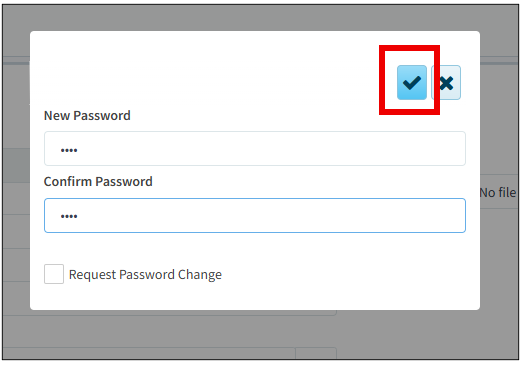
11-It will pop out the tab as shown below.
-Insert the designated password and click [tick] button to
save.
To inactive
user:
12-Select the User that you wanted to inactive. Click on number at the [POS User ID] to enter.

13-Scroll down all the way down to the bottom and see the [Inactive] box.

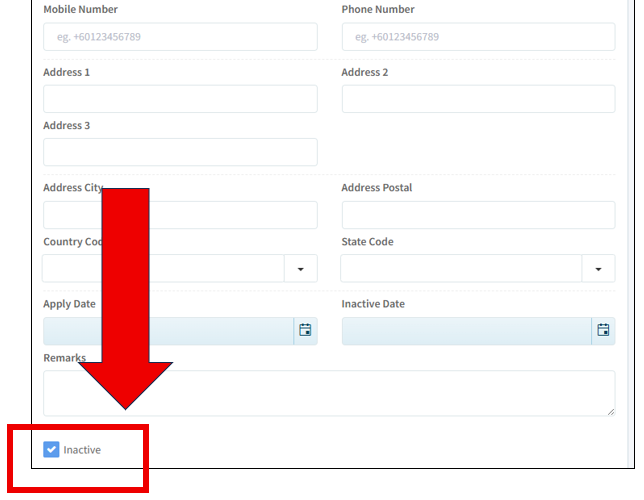
14-Tick on [Inactive] and click [Save] icon, as shown below.
