Categories
RMS - 10. How to Add Photos to Dual Display
Pre-setting
Please ensure the following at RMS side bar > "POS" > "POS Terminal" > your POS Id > top bar "POS Settings" > under "System" > "Views":1. "Activate Dual Display" box is ticked.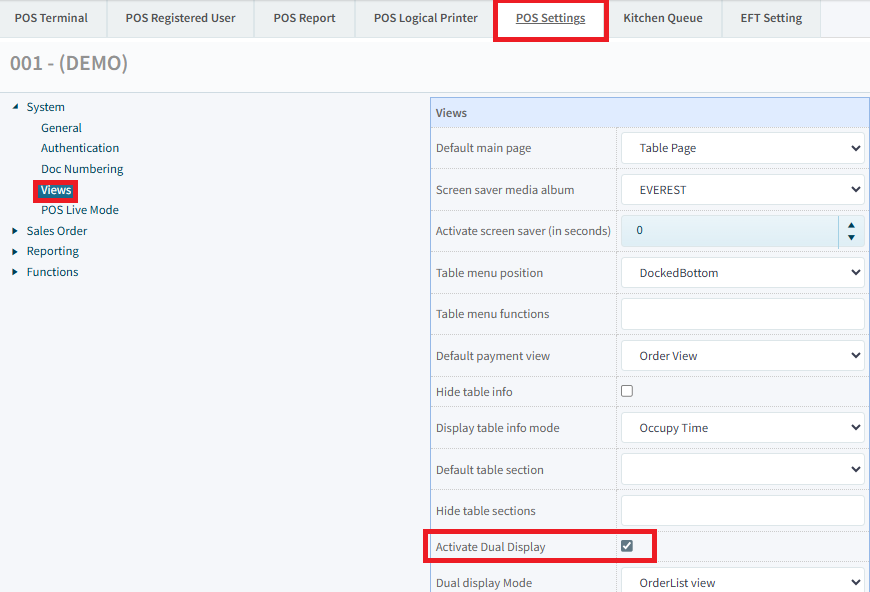
2. Dual screen resolution (width & height) is set correctly to dual screen size. Typical is 1280 x 960.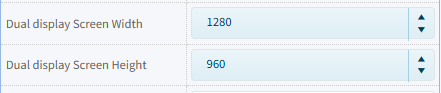
Adding Photos
To add the photos to dual/second display, go to RMS side bar, under "Master Setup" > "Common" > "Media Album".1. There, create a new album and set the code, description, and photo interval.


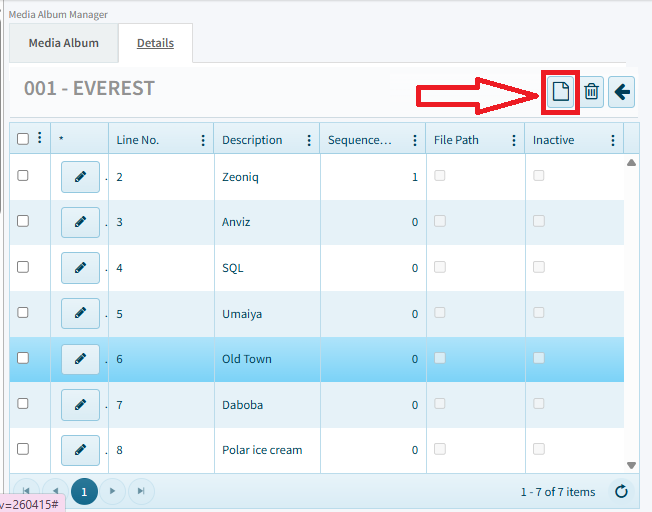
2. After creating, click back inside the album and go to the "Details" tab. There, you can add your images as many as you want with the add new button (top right corner paper icon).
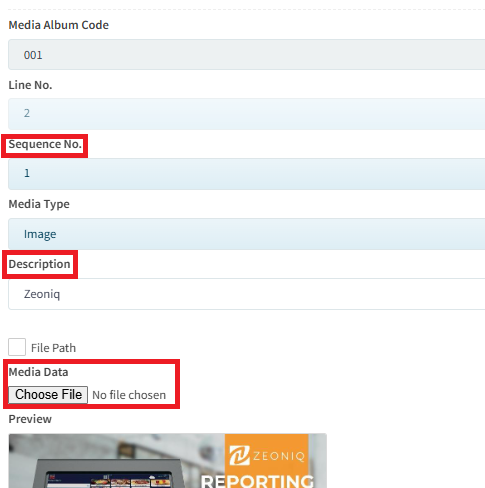
3. In the add new settings, under "Media Data", choose your image file to upload. Please note that there is a maximum file size of 500kb, the system will warn you if exceeded. Fill in the relevant details of your image if needed, may ignore if not relevant.
The only required fields are "Sequence No.", "Description", & "Media Data". Others are optional.
4. After done set, click save on the top right corner.
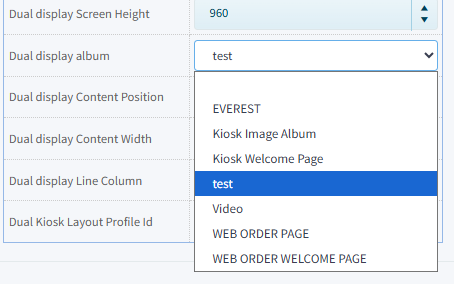
5. Now that you have uploaded your photo, now you need to point the POS terminal to the photo album. To do that, go to RMS side bar > "POS" > "POS Terminal" > your POS Id > top bar "POS Settings" > under "System" > "Views". Find "Dual display album" and select the album you created and then click save.
6. After saving, synchronize and refresh your POS, and then close and reopen Zeoniq. Now your dual/second display should show your images.